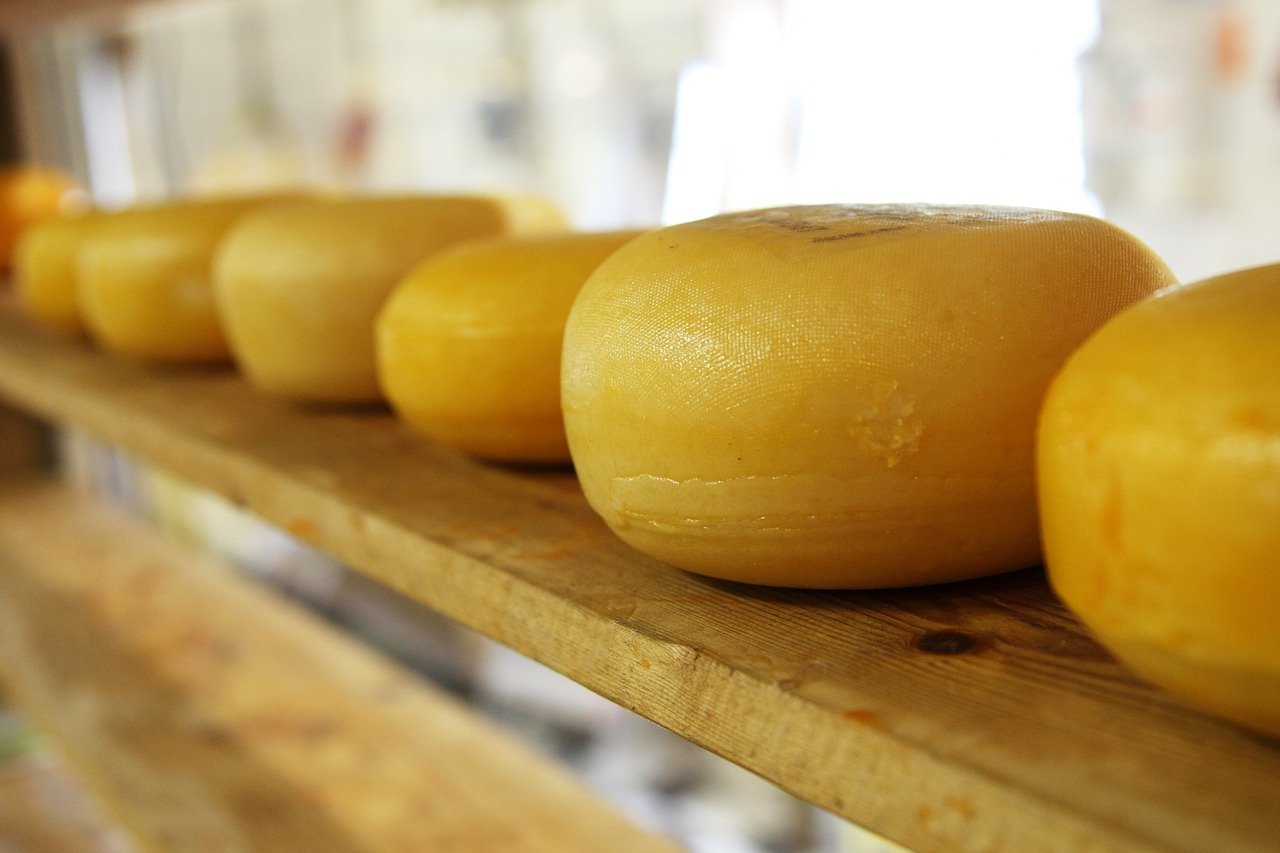
Cheese Making: How to Master a New Skill

For more than three thousand years, people have been turning milk into hard and salty yum. These days, people can choose among almost two thousand cheese sorts available for purchasing. You can even buy lactose-free cheese milk in any corner store.
However, if you don't have a vast desire to buy commercial cheese anymore, this post is for you. Down below, you will read the basics of cheesemaking and discover how to make it by yourself. Thereupon, you will be able to eat and treat your friends with self-made cheese.
Fundamentals of Cheesemaking
Cheese is a dairy product that is created with milk. Usually, people use milk from cows. However, the milk from goats, sheep, and buffaloes is also suitable. Cheesemaking is based on friendly bacteria that help ripen milk and turn it into cheese.
Nevertheless, the method is quite complicated. You have to get special tools and components. You should also discover how to juggle between recipes and your owl feeling like taste, smell, and touch to create the best product.
Cheesemaking recipes can vary. Nevertheless, the basics are always equal.
For starters, you have to get the following equipment:
- cheese pot;
- thermometer;
- measuring cup;
- stainless steel skimmer;
- curd knife;
- colander;
- cheese press;
- draining mats;
- pH and acid testing kit.
Also, don't forget to bring sanitizers as cleanliness is essential for cheesemaking. You need to provide a great environment for helpful bacteria and get rid of other microorganisms.
How To Make Cheese
There is nothing complicated in making cheese by yourself. Having the required equipment, you only need to get the ingredients:
- milk;
- cultures;
- mold powders;
- rennet;
- cheese salt.
You also need to have enough spare time. Being a student, you will hardly allocate even one hour, especially if you study nursing. If so, feel free to ask for nursing essay writing help on the Internet to delegate your assignment to expert writers.
Step 1: Milk Boiling
It is the fundamental step that needs you to be very attentive. It's vital to follow your instructions strictly as heat influences the taste of cheese. You're free to use any milk and can put it on a stove. Also, you can utilize the water bath heating method.
Step 2: Adding Ingredients
At this stage, you will need to combine the ingredients according to your instructions. Firstly, you should add cultures, rennet, and mold powder. Also, you may need to add citric acid, lipase, calcium chloride, and cheese coloring.
Step 3: Cutting Curds
Curds cutting is required to eject whey. Cut the substance by utilizing the curd knife manually. A particular instruction must specify the scope of curds as this stage affects the cheese hardness.
Step 4: Cooking
Cooking aims to oust whey and helps reach a particular level of acid. You should monitor curds while cooking them. Increase the temperature gradually and stick to your instructions. You will notice that curds become smaller. Continuously stir them not to let curds settle to the underside of the saucepan. However, some recipes need pieces of cheese to lay to the bottom of a saucepan.
Step 5: Draining
It's a simple step that doesn't need a lot of time and can be performed by applying a colander. Note, soft, hard, and mold-ripened cheese ought to be drained in different ways. Therefore, always follow your instructions to make top-quality cheese by yourself.
Step 6: Molding and Pressing
At this stage, bring a form of an appropriate size and put cheesecloth inside. After this, fill your frame with curds.
The best way to connect them is by using a cheese press. However, if you don't want to invest a lot of money into this device, feel free to apply your hands or heavy items. A scale can help measure the applied pressure.
Step 7: Salting
After squeezing, hard cheese needs to be placed in a salt brine. It helps control the acid rise and boosts rind formation. Soft cheese should be salted while molding.
Worth noting, the soft cheesemaking process needs more time and effort for salting. In case you're an undergraduate who is always short on time, don't be shy about getting paper writing help to free your schedule.
Step 8: Aging
After performing all the steps above, you will demand to air dry your cheese. At this phase, remove all cloth and let the cheese get dehydrated. You will be required to flip it a lot of times to let all the sides dry equally.
Some recipes may oblige you to apply oil or wax. Worth noting, you will also be required to control humidity and temperature for precise cheese aging.
Helpful Tip for Cheesemakers
If you want to experiment with your cheese, don't hesitate to deviate from your instructions. Cheesemaking isn't engineering, so you can enhance some processes if you're going to do so. For instance, you can add dried herbs during molding your product. After all, roughly two thousand of sorts were invented thanks to experiments.


Loading comments...